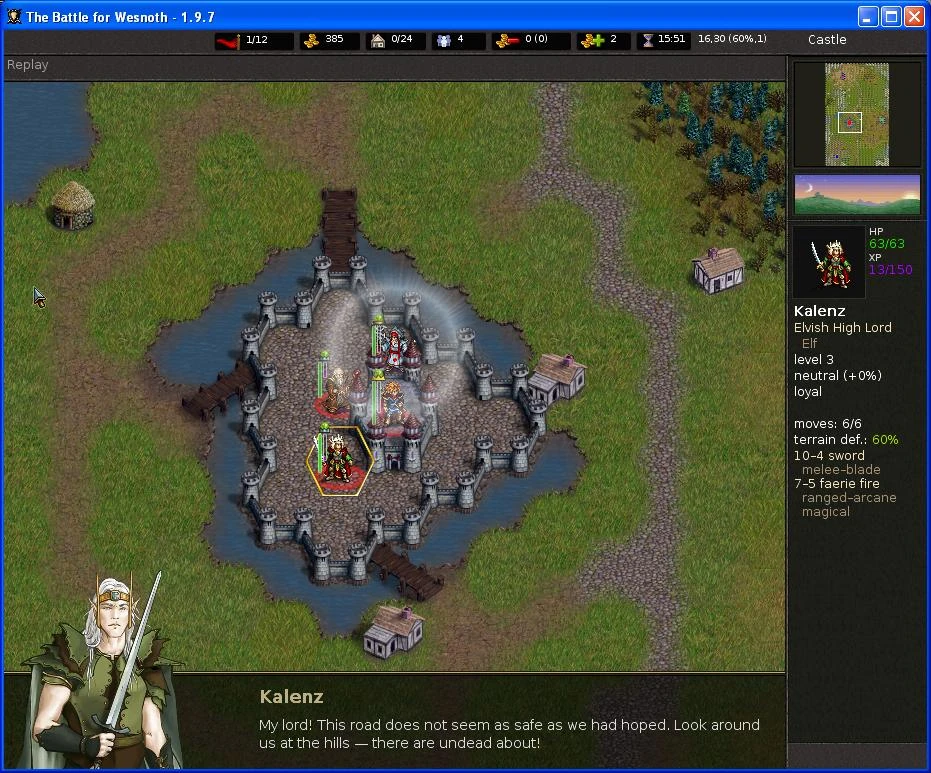
Kalenz notify Konrad that the road is not safe at the beginning of the scenario
Konrad being disallowed by Purple Leader at the beginning of the game
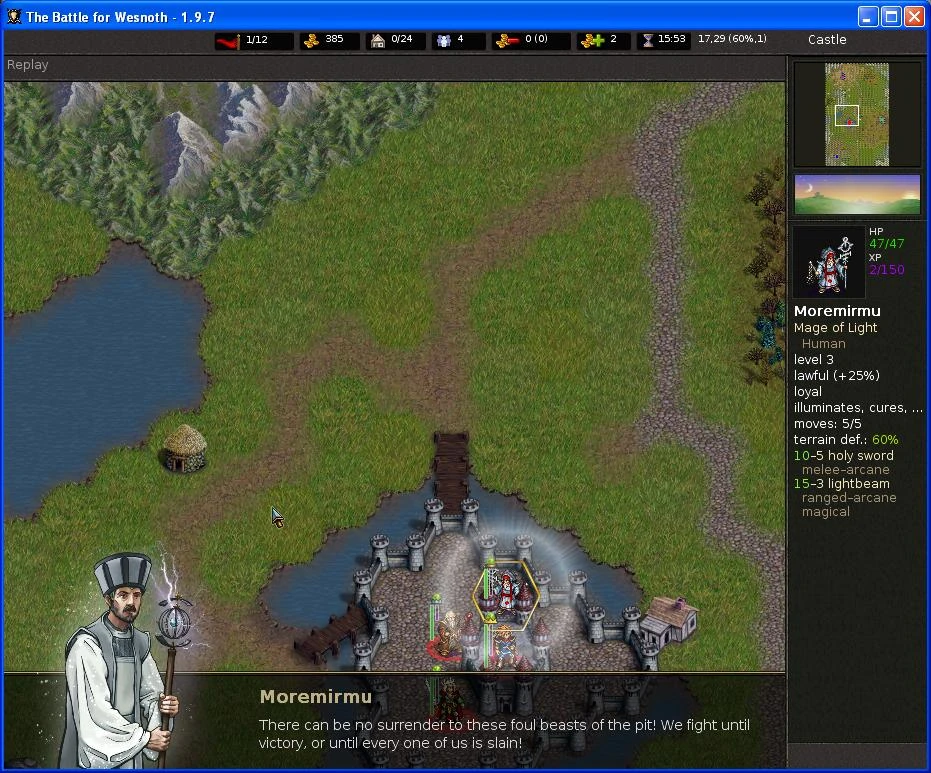
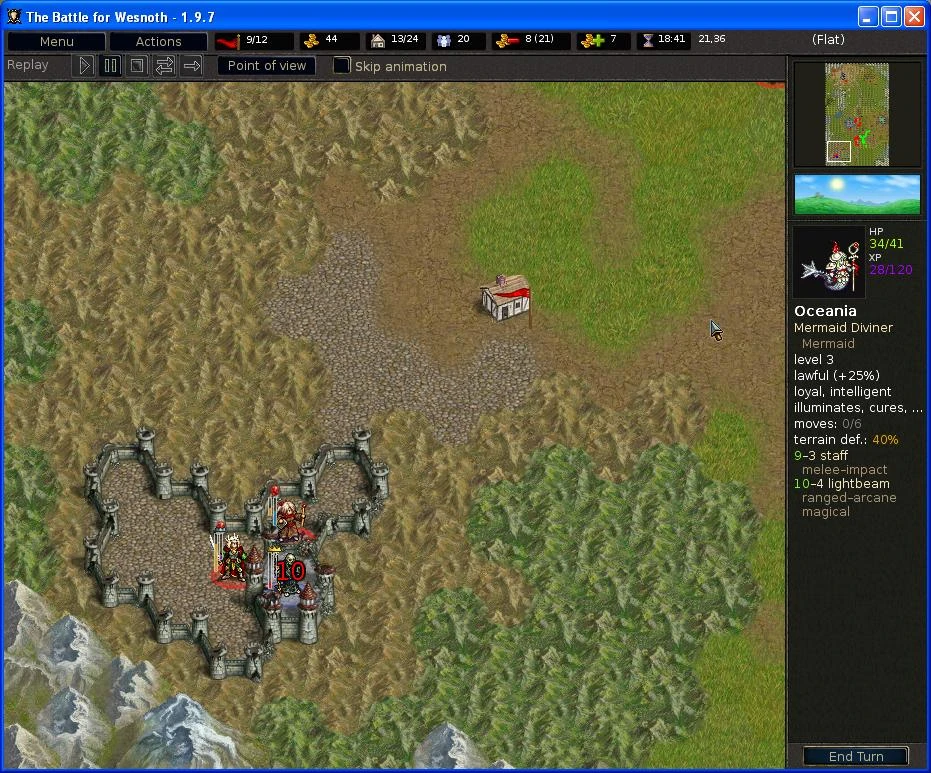
Moremirmu is with our armies
Konrad 1st Recalled

Green Leader 1st Recruitments

Blue Leader 1st Recruitments

Purple Leader 1st Recruitments

Konrad 2nd Recalled and some new recruitments

Preparing the Defence Line due South, capturing some villages due South and sending unit to acquire the Holy Bottle due South

Send Moremirmu to captured the North village from our keep and to attempt to slowdown the Purple unit

Sending the Assassination Team to Assassinate the Purple Leader

Blue Leader 2nd Recruitments

Green Leader 2nd Recruitments

Purple Leader 2nd Recruitments

Konrad freakout and later being advise that there are some relics that can be obtain to assist in the battle, i.e. Holy Bottle


Green Leader 3rd Recruitments

Engaging The Blue units

Konrad 3rd Recalled

Getting the Holy Bottle "West"

Slowing down the Purple units using Moremirmu

Getting the Holy Bottle "South"


Konrad main force seem to be outnumbered, need reformation and realigned new Defence Line

Preparing Defence Line to engage Purple units

Lure away some Purple units Ghost to easy the main armies burden

Green Leader 4th Recruitments

Realigning Defence Line

Green Leader 5th and last main recruiting

Killed all the lured Purple units

Preparing Defence Line against Purple units

Making way to Purple Leader

Relocate Defence Line away from the enemies main force

Holding off Purple units

Going to assassinate the Purple Leader

Killing the Purple Leader

Preparing to kill Blue Leader

Time to kill all the Green units

Destroying all Purple units

Killing the Blue Leader

Rounding up Green remaining units

Preparing to Kill Green Leader

Capturing Villages at the North

Luring The Green Leader

Destroying all the Green initial units

Try to lure the Green Leader to attack my unit.

Killing the Green Leader and it last few minions
Game play is on Hard Difficulty - Ver 1.9.7
Total move = 12
Starting gold = 200 + 185 Carry Forward = 385 (My own gameplay)
Objective = Survive for 2 days (12 turns)
Secondary Objective = Eradicate the liches
Defeat = Konrad/Delfador/Kalenz either one dies.
Early Finished Bonus = 26 Gold per turn & 40% gold carry forward.
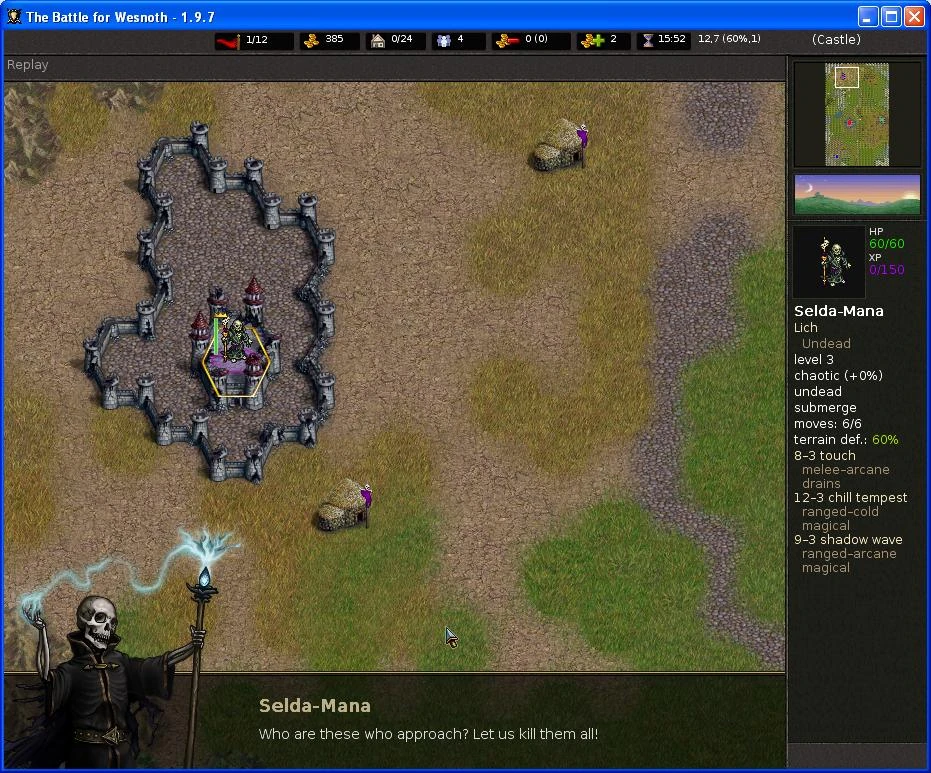
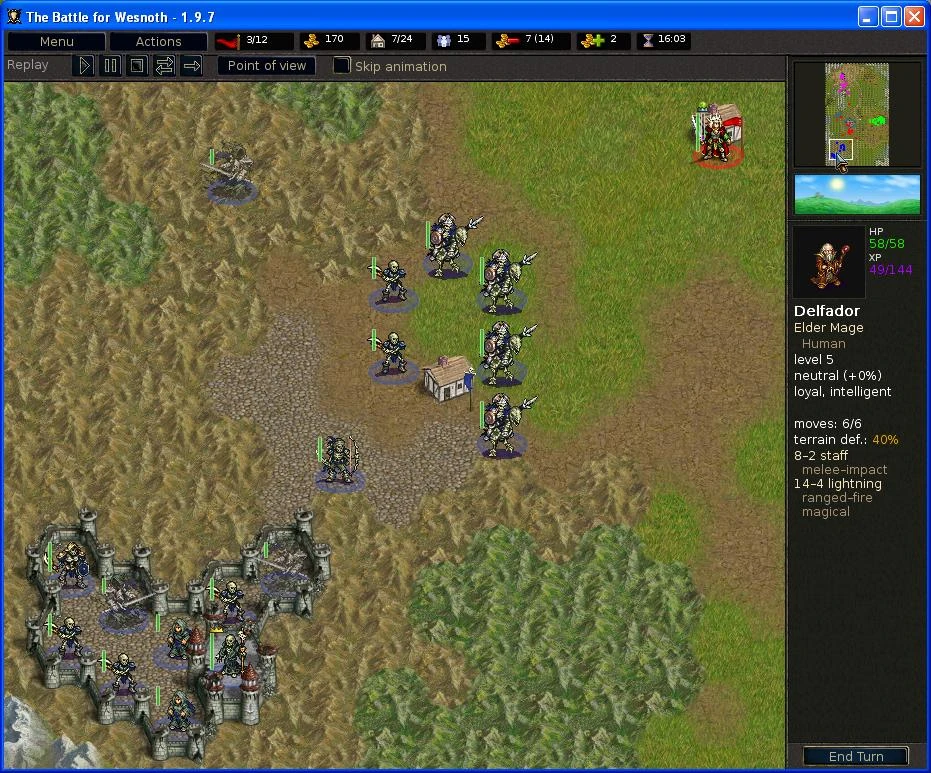
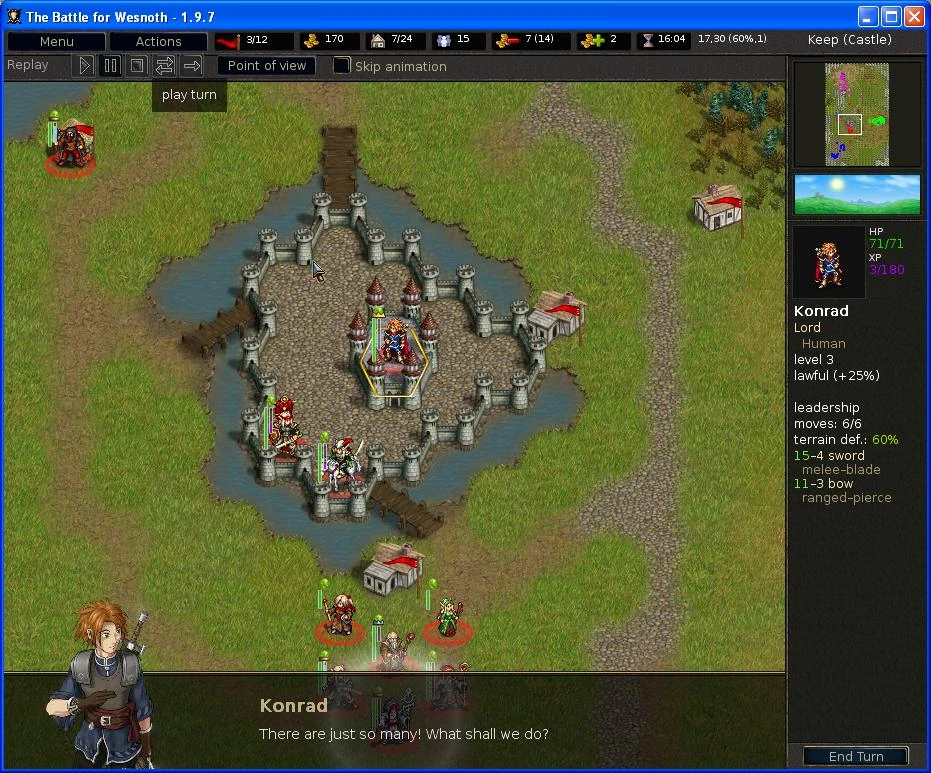
Konrad and his men's has been tricked by Princess Li'sar from the early encountered. She has bring Konrad straight into a trap where hordes of Undead leading by 3 Lichs rushing into Konrad and sandwishing Konrad and his men's in the middle of the Death Valley. Be prepared to be heavily hit by those Undead and losing much of your gold in this scenario.
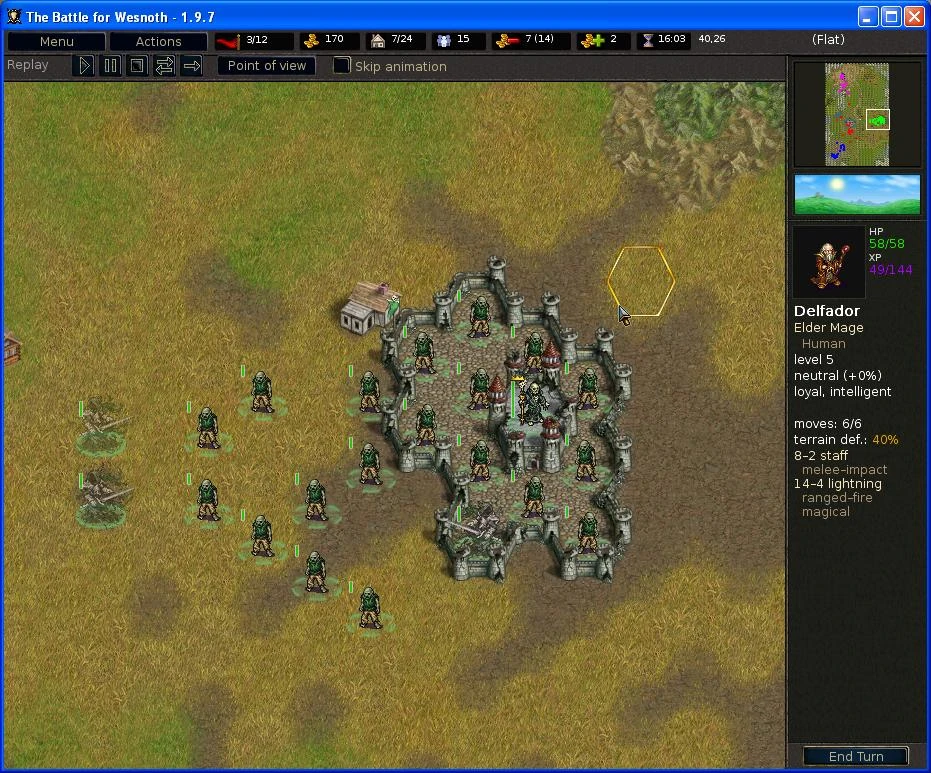
In this scenario, Konrad has very minimal possibility to do much tactical manuever over his units. As the map are having too much enemies units and considerate close enough to reach Konrad just about 3 to 4 moves, hence reinforcement from enemies units come pretty fast and in numerous numbers. Especially the green leader, East to Konrad, who is recruiting only Wraith and Walking Corpse seemingly has many gold to keep on recruiting units and send in it minions to attack Konrad in great numbers. And for the purple leader at North to Konrad, he will recruits mainly level 2 units, of which giving Konrad a hard time to take them down. And these green and purple leader has a keep which giving it ability to recruits 11 units per turn. As such, making the blue enemy leader at the South, being the weakess enemy, though he also recruits mainly level 2 units, but he has only 8 hexa per turn to recruits, whereas Konrad is given 12 hexa to recruits per turn. Hence, move Konrad to attack South is the best tactic.
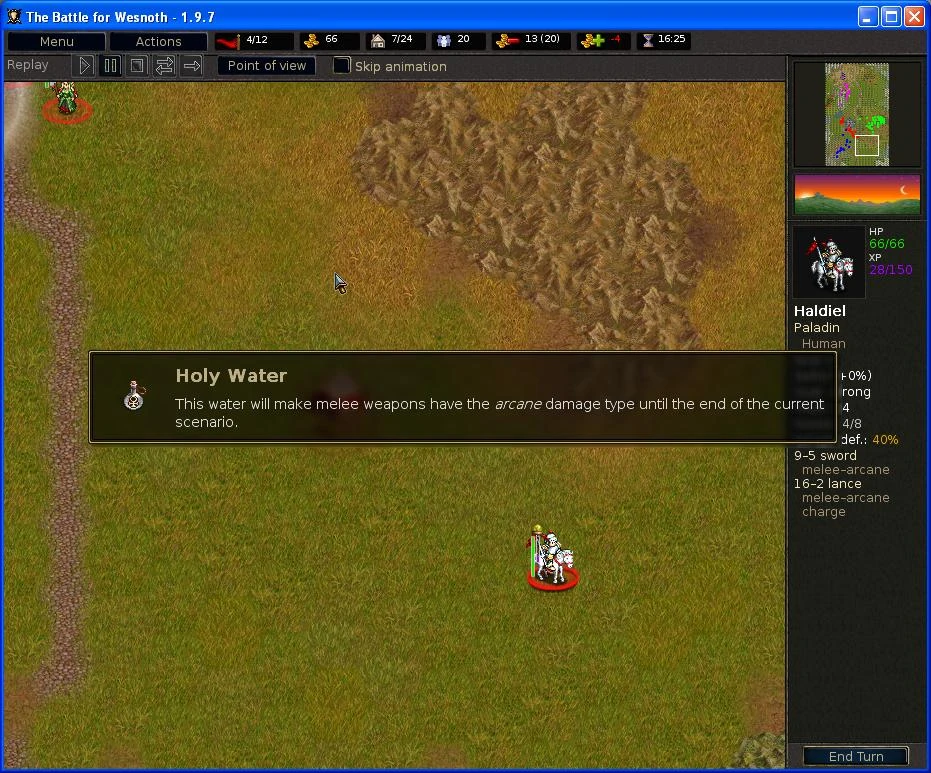
In these scenario, you are given 2 temporary relics which put on the field for you to pick it up, it is called the Holy Bottle which it can change your unit (whichever unit that pick it up) melee attack into arcane base, hence giving it greater damage deal over the Undead units which usually having 50% less resistance against it, but not to Ghost type enemies which only having 10% less resistance. And such Ghost in this scenario came with level 2 i.e. Wraith of which is the one enemy that giving you most of the problems and surprises.
Back to the gameplay, as mention, in this scenario, Konrad will have very minimal tactical menuever possibility, as such, the gameplay I used may not suit you due to units that you may have with you is different from me, eventhough you has follow my gameplay so far and having the same units type as I am, but the experience level will be different due to the enemies AI will always recruits differently, hence killing rate and experiences earn differently. Hence, you may not need to follow my gameplay as a whole but just get as much information which suit your units type that you are having with you.
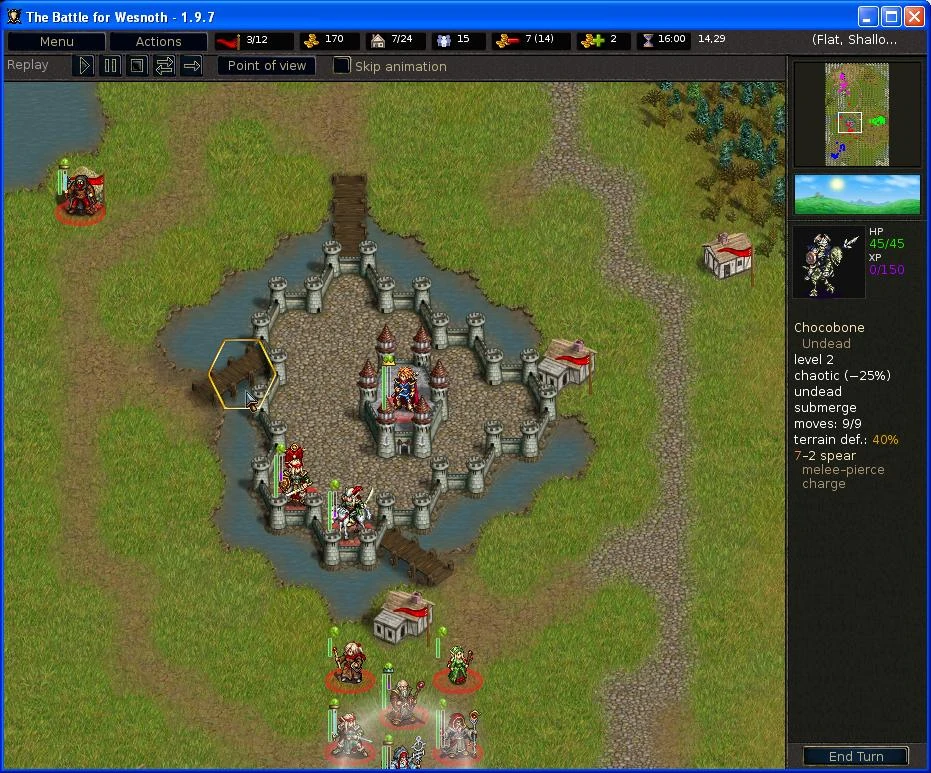
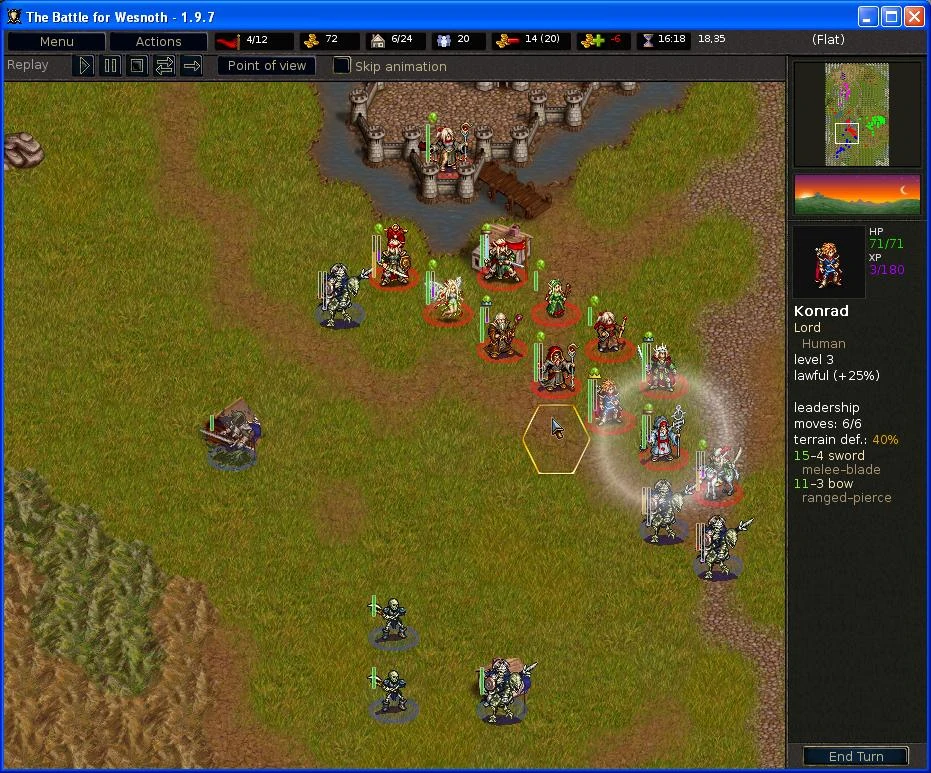
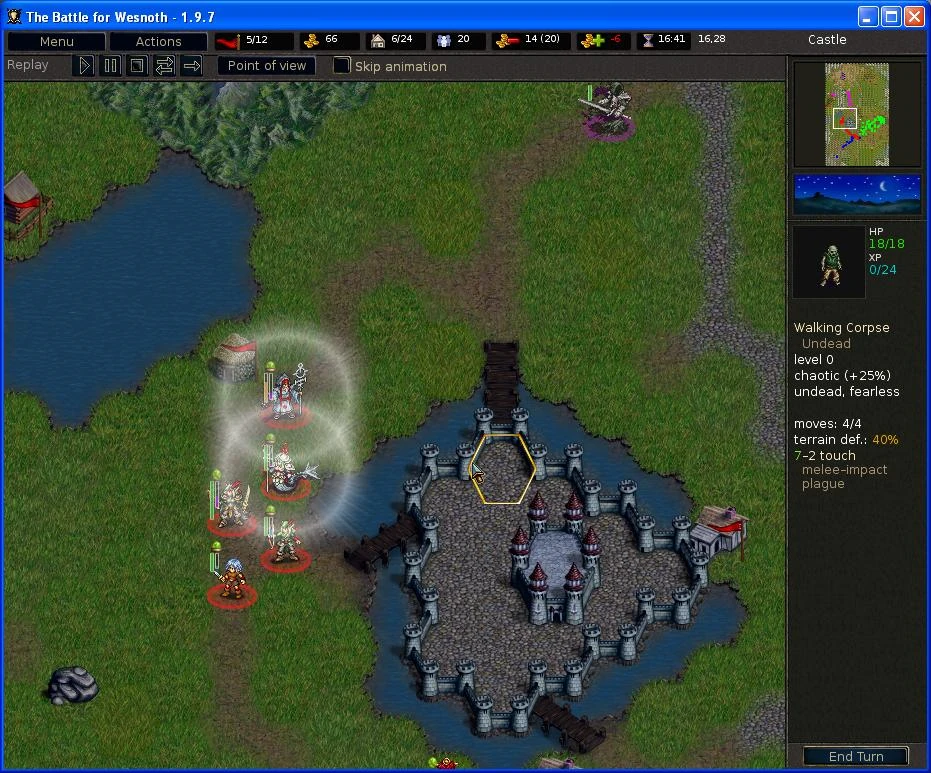
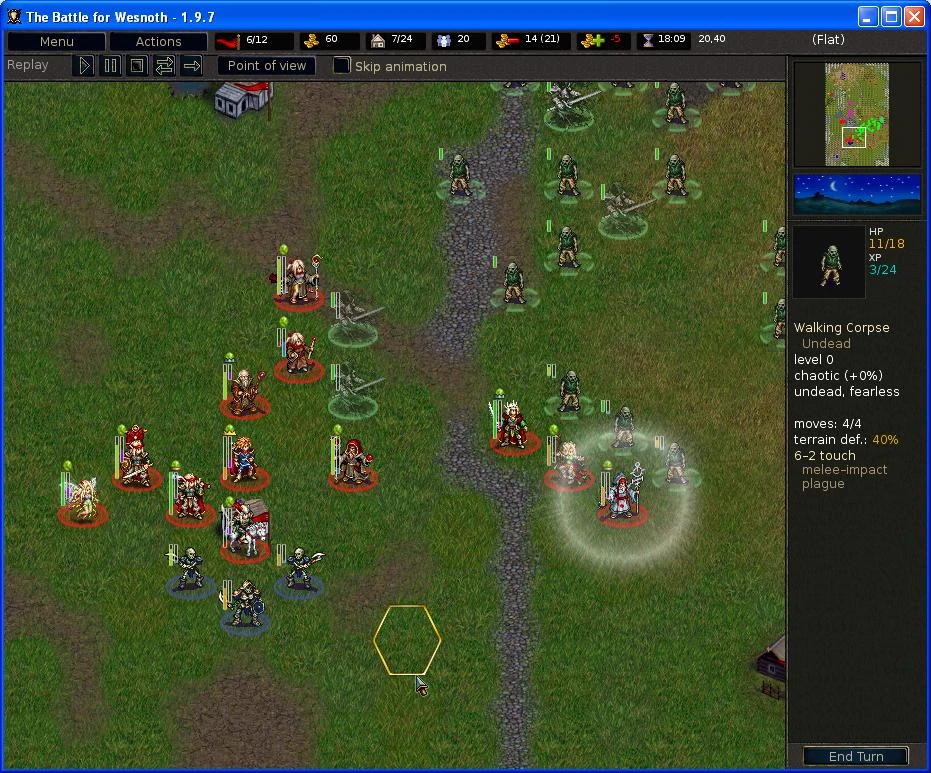
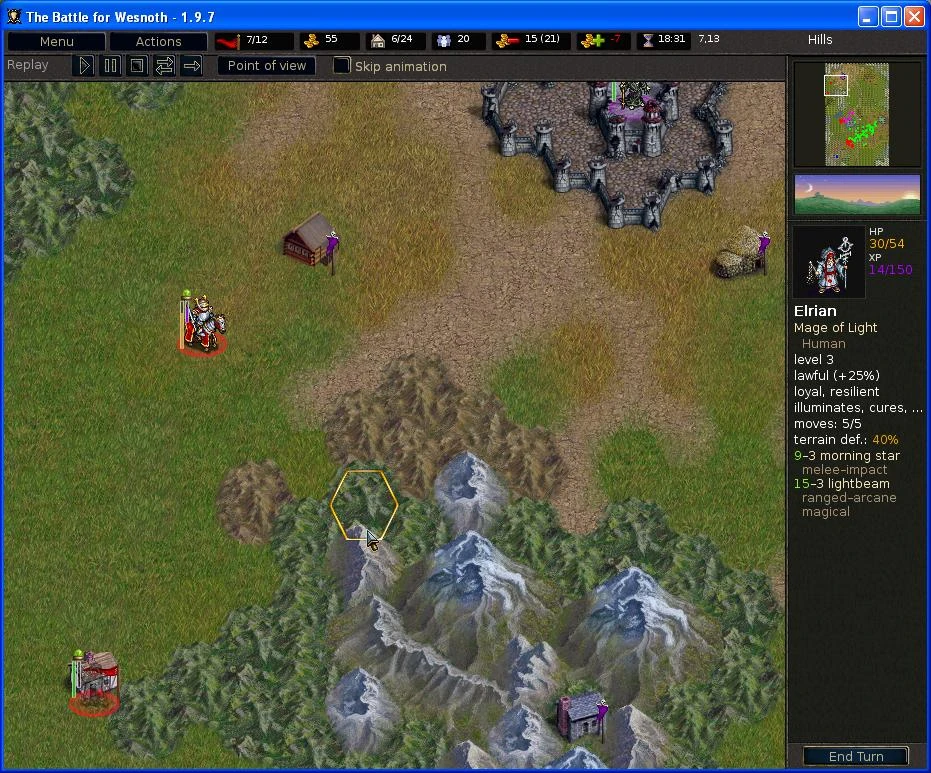
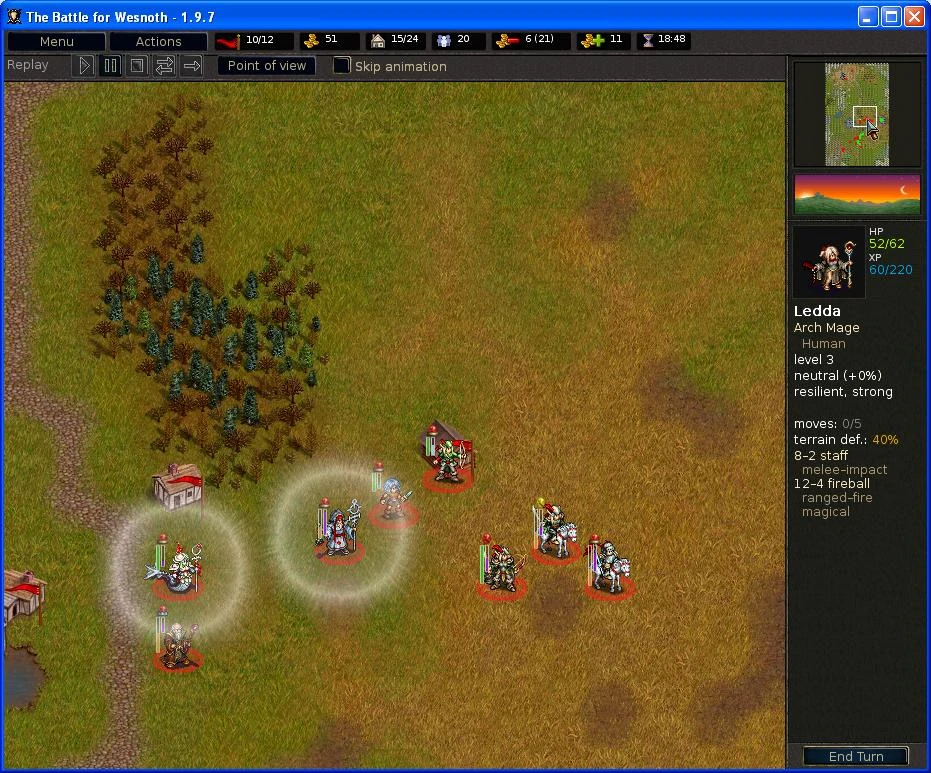
Before you do the 1st round recalling or new recruitments, you should move all your initial units out from the keep, recommended to move Moremirmu to the North (he is going to captured the village North to the keep (in 2 move), by doing this the Purple units will have to recaptured back from Konrad hence, somehow slowdown their assault). Secondly move Delfador to captured the village just East of your keep and use Kalenz to captured the village due South (Just that because Kalenz is having more HP and better in melee as compared to Delfador). Now recalled your Grand Knight or similar unit West of your keep supported by a Outlaw or similar unit. Recalled your Paladin or similar unit South of your keep, then recalled all your healer recommended minimum 3 of them, if not enough recruit some new Elvish Shaman, now recalled your Mage 1 or 2 of them (their useful so 2 recommended) look at your income, if still not negative recalled or recruits any melee unit as support (0 income is fine). Then lastly move Konrad to captured the village just Northwest of your keep and save your game.
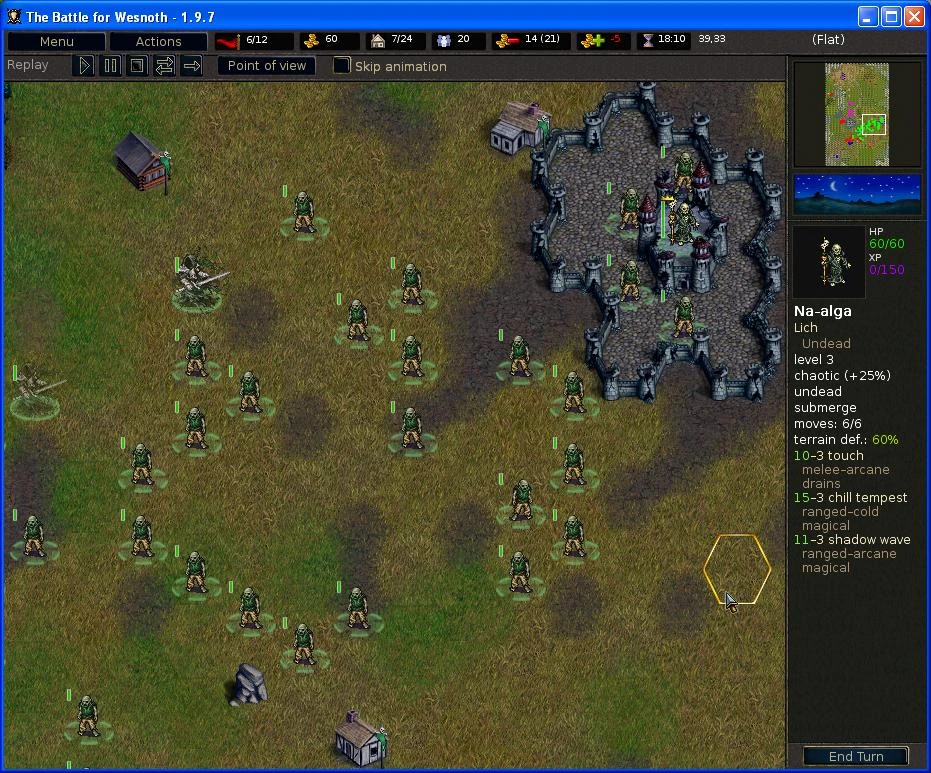
Though is not recommended to save and load a game by the game programmer and some veteran players, but this is a hard scenario which specially designed to hammer the player hard, hence reducing it pain by saving and loading is not really that bad idea, after all playing suppose to be fun right? And what I was going to do is also considerate as a tactical move and not cheating. First of all let those 3 enemies leader do their 1st round of recruitments, the only faulty I try to do is to make sure the enemies are recruiting the units as I desire before I start my game. For the Blue Leader I make sure it recruits more Chocobones and less or no Wraith, these can help Konrad to reduced the Blue Leader units as fast as he can, due to those Chocobone move fast and hit hard (also countered hard by us) it will make the Blue Leader units spilt and reduce fast hence give Konrad and his units a breathing ground. Secondly, the Green Leader is not allowed to recruits anything more then 2 Wraiths, the lesser the better (this is to make sure the Green units will not reach fast to Konrad and in a numbers that giving Konrad a tough time) and lastly the Purple Leader can only allow to recruits 2 Chocobone (is a must) and maximum 3 Wraith but 2 is minimum (This is also to slipt the Purple units so that the numbers of enemies handle in each round can be minimise).
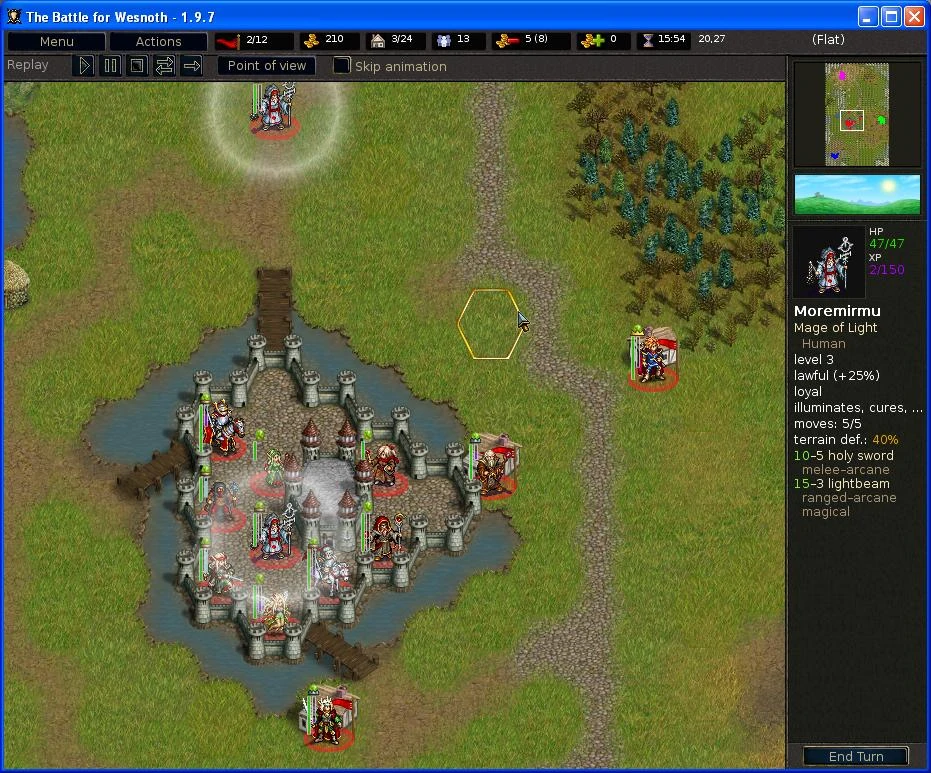
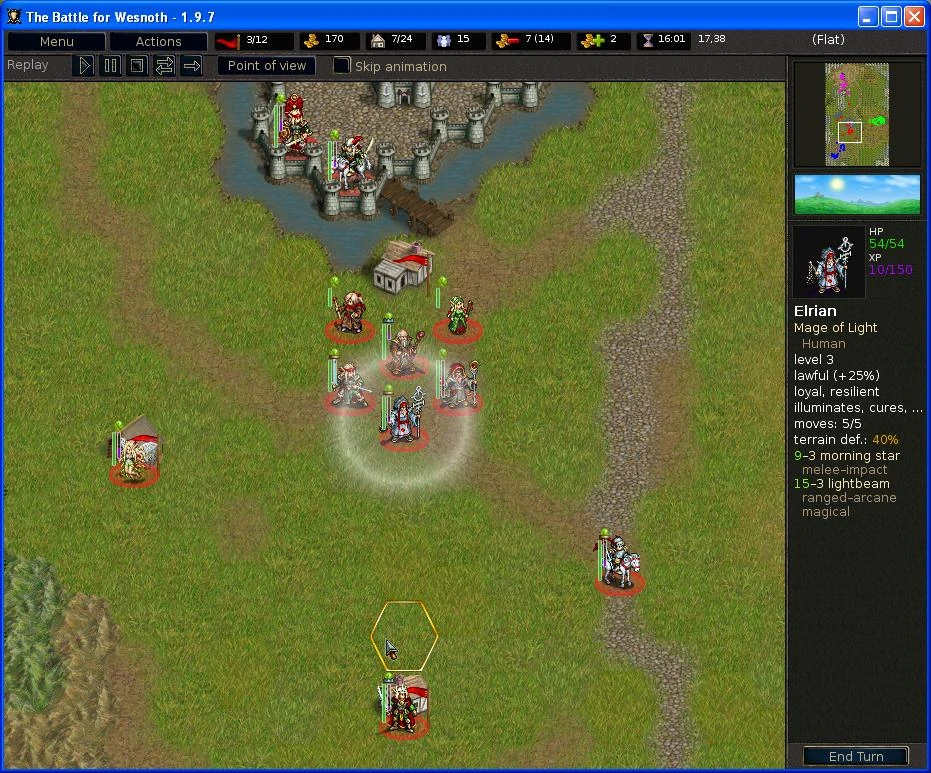
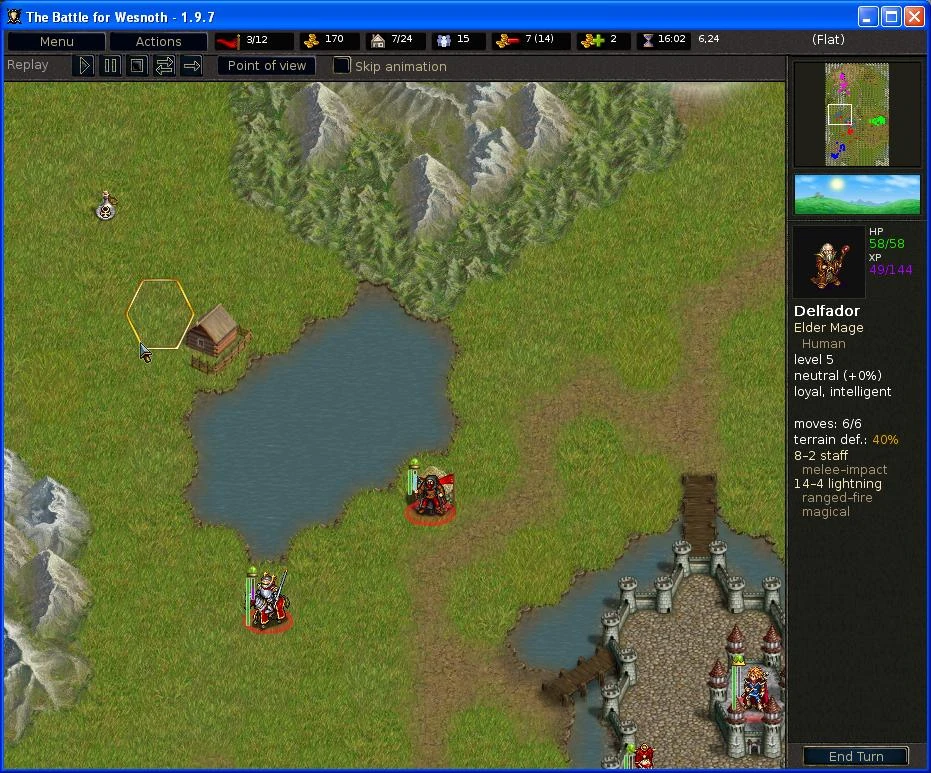
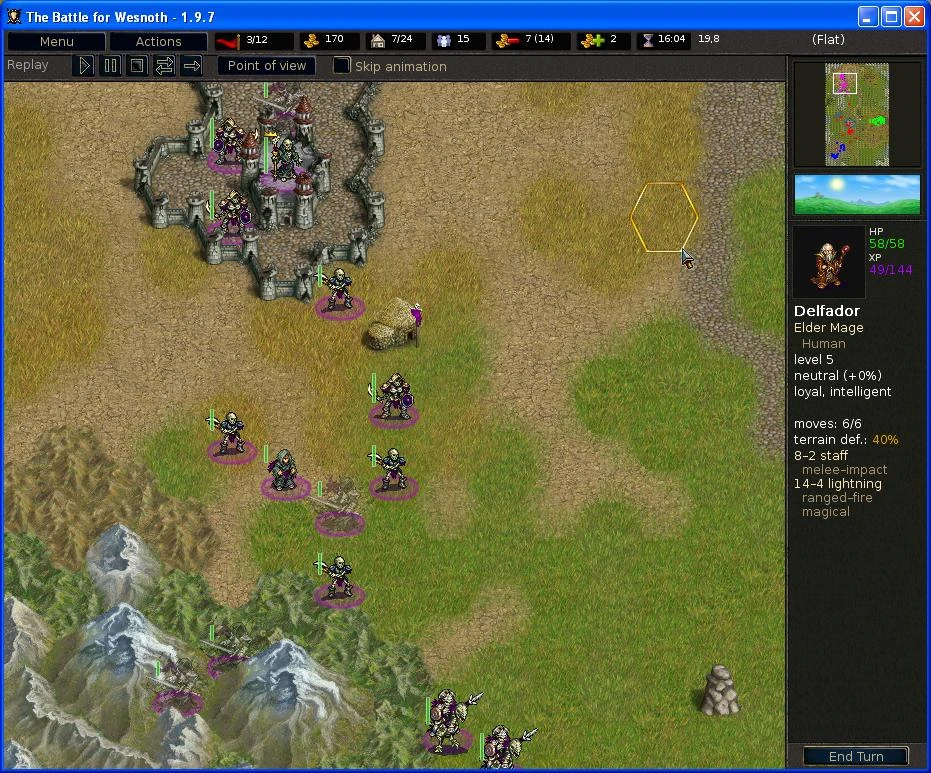
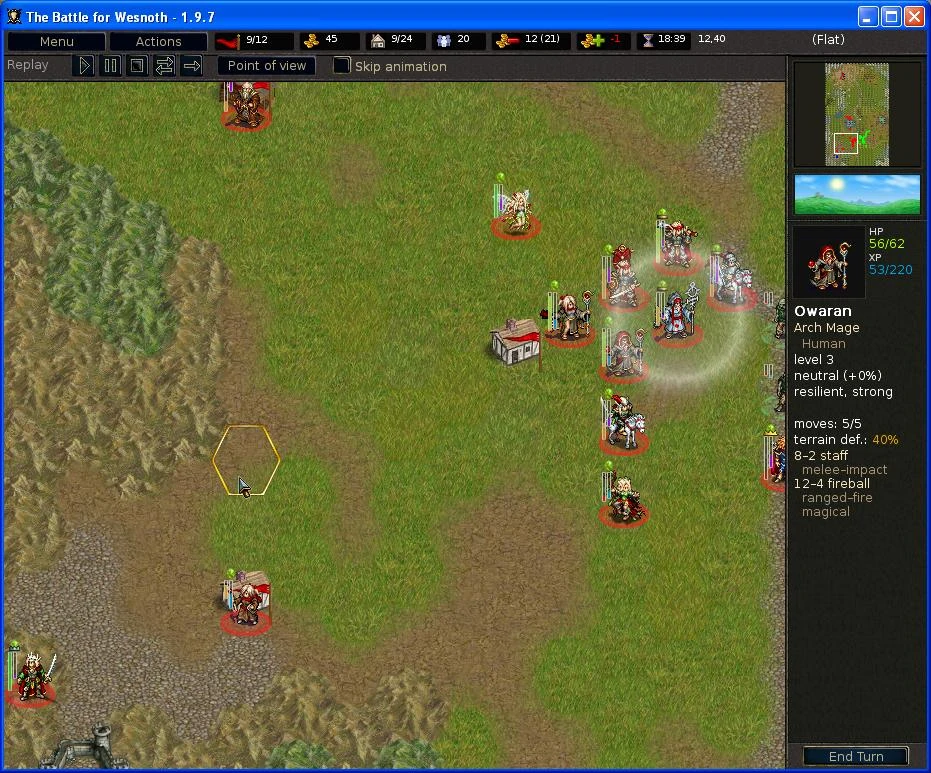
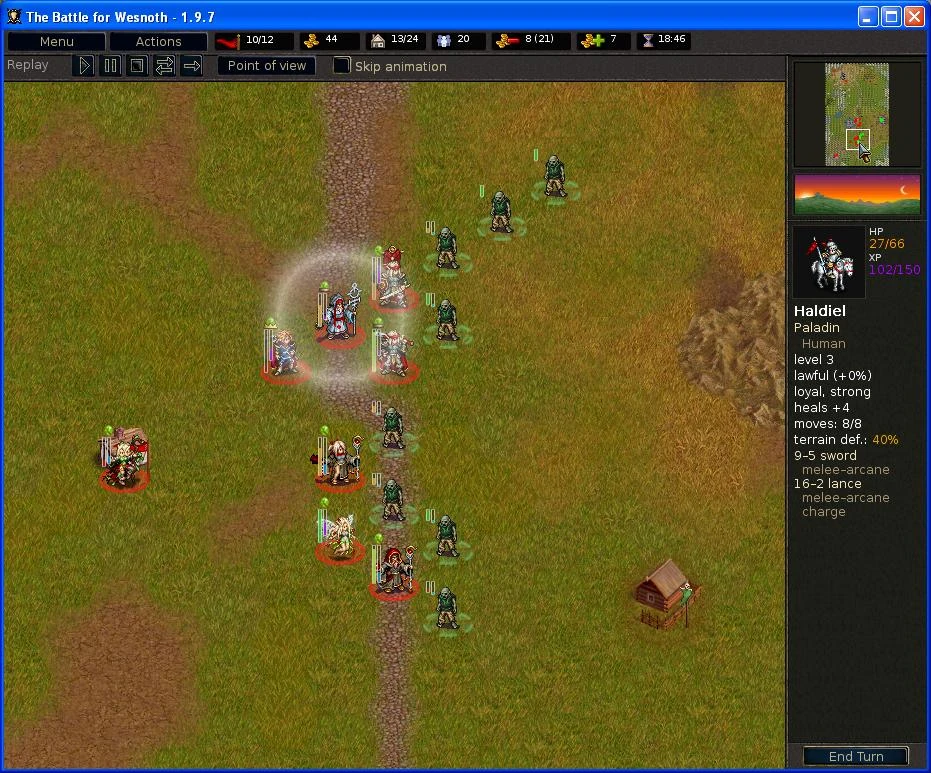
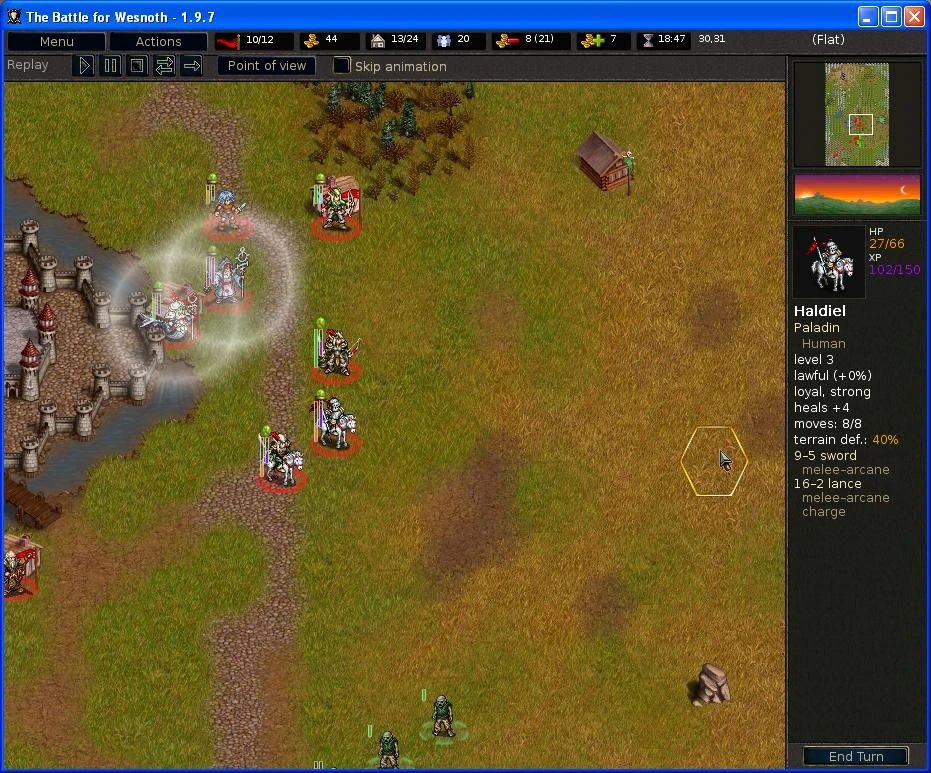
From now on, the game begin, though you may still lose the game due to indeed this is a challenging scenario and the outcome is always unpredictable. 1st move the Grand Knight to get the Holy Bottle West of the map and it supported by the Outlaw which send to captured the village Northwest to the keep. Then send Kalenz to captured the village further South and Elvish Shyde to captured the village Southwest from the keep. And then send the Paladin to get the Holy Bottle South of the map (If you are using other type of rider is fine, though Paladin already has Arcane ability but making it Charge attack Arcane as well help alot also). Finally, move all other units just across the bridge South of your keep to prepare your defence line. And after all that, return Konrad back to the keep to do his recalls, always look at your income, do not over use it until you has a negative income, hence I only allowed to recalled 2 more extra units and that are a Elvish Outrider which help me to cover up any possible hasty defence or assault which may come later in game and a Elvish Marshal who I need it to cover my level 1 or 2 units together with Konrad both level 3 with Leadership ability. Both units I recalled at South of the keep which will be needed to make my 1st defence line against the Blue enemies units.
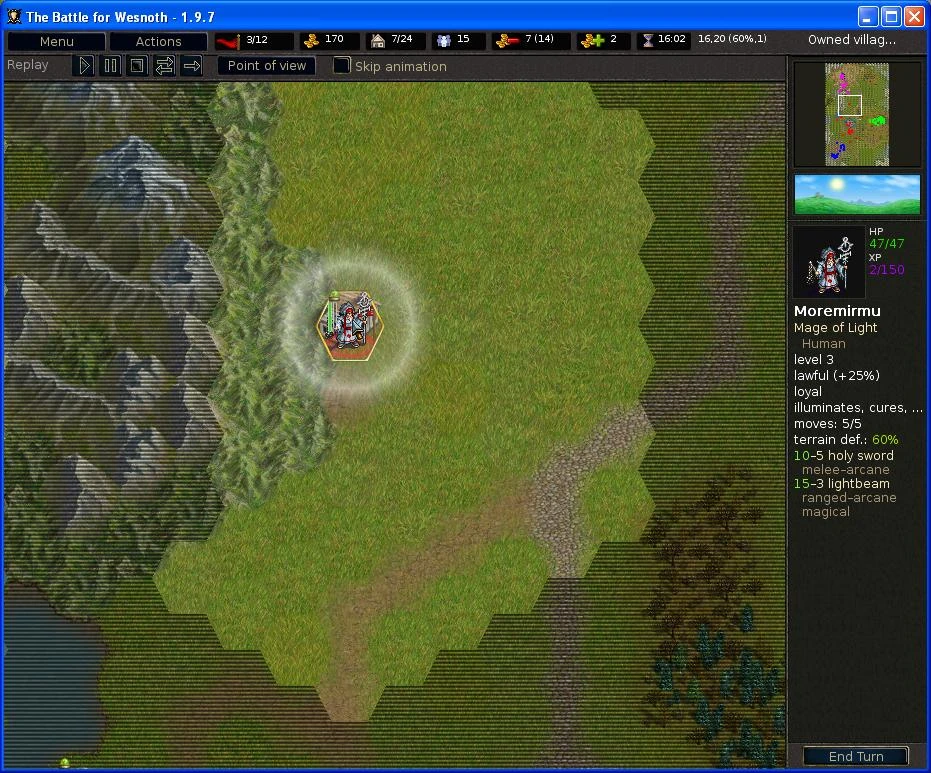
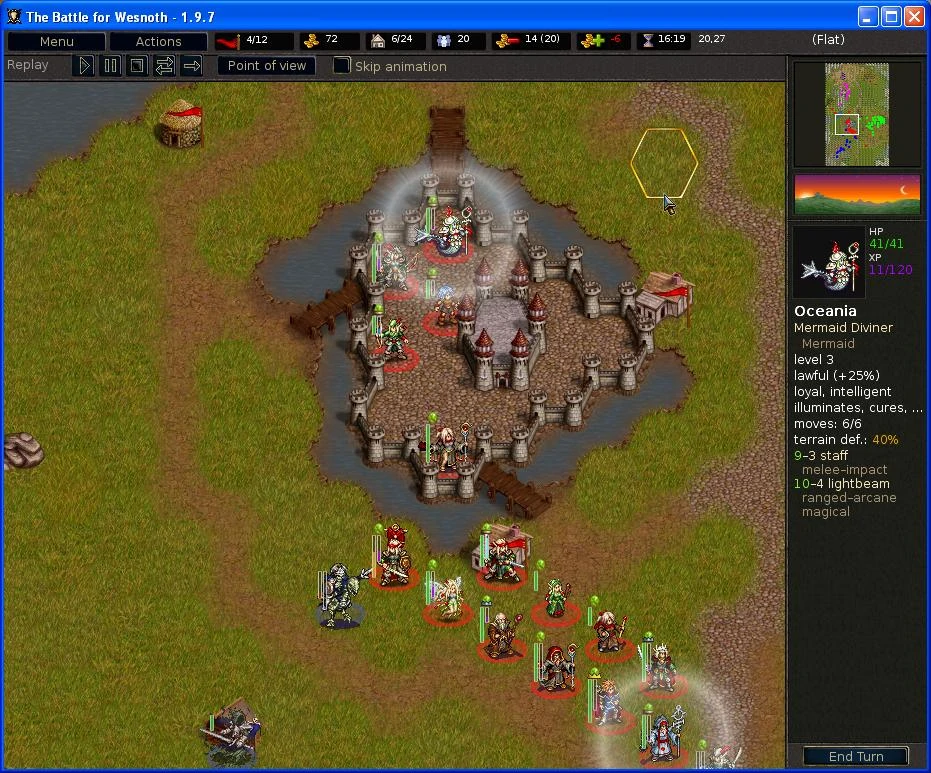
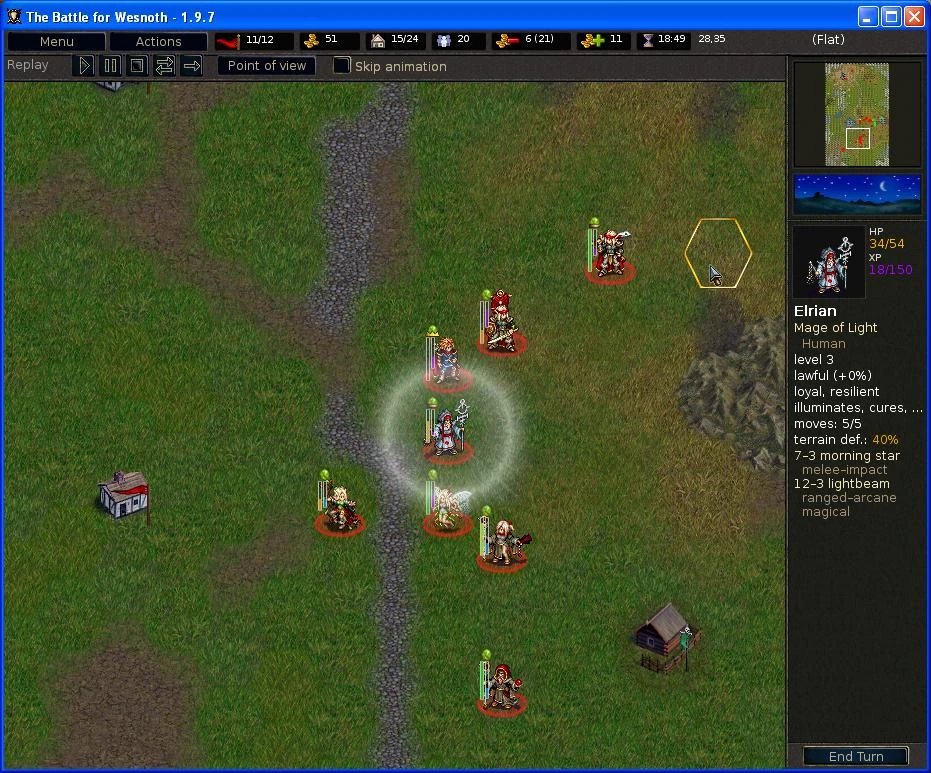
And for the 3rd round of Konrad recalled, I recalled another Arch Mage due South to put in extra magic support to the South defence line (as the major fighting are within this line of defence), then I recalled my Mermaid Diviner (As I need another healer and a unit which has illuminates skill, which I do not have anymore Mage of Light, hence I recalled the Mermaid Diviner hoping that with the number hexa due North having many water hexa will help my defence over the Purple enemies units) with some other recalled such as Elvish Avenger, Elvish Archer & Thief all recalled due North. After all these recalled, move Moremirmu back from the captured village toward our keep but need to check the Purple enemies Chocobone (the 2 Chocobone that on purpose force the enemies to recruit, remember?) their movement range, as you need to ensure both the Chocobone can reach Moremirmu at their maximum range, so that they able to attack Moremirmu during their turn of attack which Moremirmu is at benefit of his resistance over the Pierce i.e. 0% but Chocobone is at a lose of resistance over Arcane i.e. -50%. On top of that, Moremirmu having his Holy Sword with 10-5 (+25% lawful) together with Chocobone Charge attack count making Moremirmu having a deadly damage count at 30-5 over the Chocobone at only 14-2 which is normally miss at 30/70. The same rules apply to the South defence line, make your unit in a line of 45 dergees facing Southwest to prepare to engage the Blue units, any units of you who is high in counterattack melee damage with attribute of Impact or Blade will do the tricks. (Remember same rules mean, check the Chocobone range, make sure your defence line is only able be reach by Chocobone only). Remember to get the Holy Bottle West of the map.
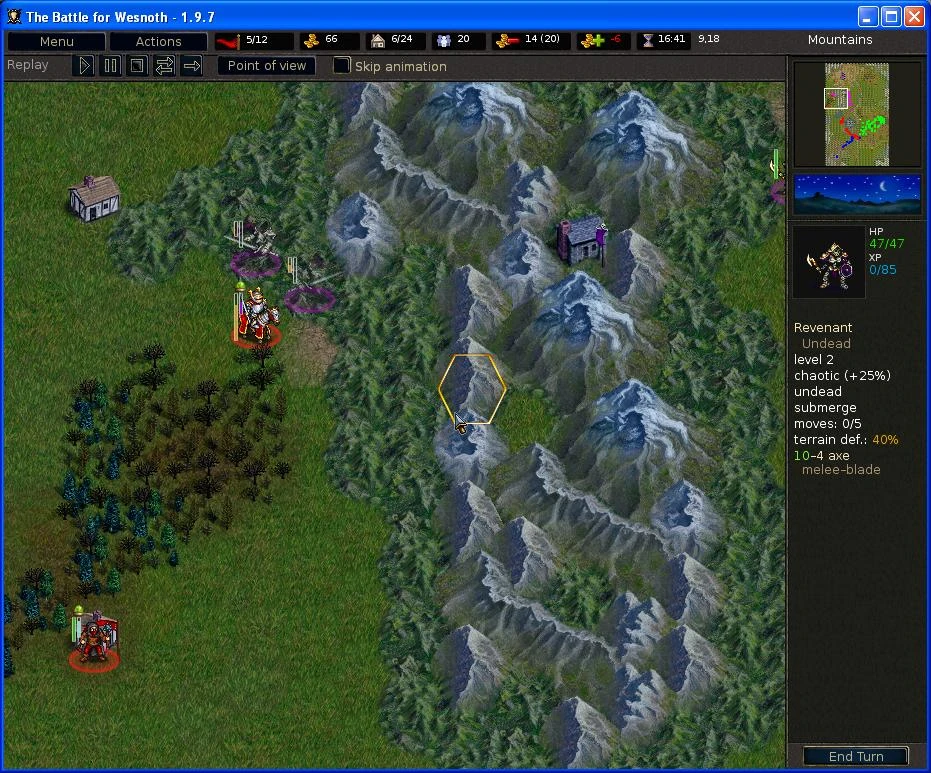
When the 4th move begin, Moremirmu should already destroyed the Purple units Chocobone, so send him back to the units that in the midst of making the defence line at West of your keep, preferrable side by side with the Mermaid Diviner for healing (The reason for your units to create a defence line at West of the keep is to lesser the number of enemies i.e. Purple units to reach Konrad and his units hence to separate up the concentration of enemies attack). But make sure that your defence line here are near enough to lure the Purple units in but far enough to evade the Green units especially the Wraith as your units station here is minimal and not strong enough to engaged too many enemies. And now, back to your main defence line South of your keep, you should notice that the Blue units Chocobone are either dead or heavily damage. Used your Mage (Arcane attack) or any units that can finish off them with arrows, but move your units in a way that you are still having a line of defence but slightly towards the Blue Leader, ensuring that the Green units are still unable to reach you and Blue units are also not able to reach their full force on your defence line (about half of them only can engage your defence line). Remember to keep units which has been damage into your healer care, but away from the enemies attack. Lastly move your Grand Knight and Outlaw (assassination team) further up and use your Grand Knight to lure in some Wraiths (for me 2 of them who are flying over the mountains) which they will attack your Grand Knight during their move and with the help of the Outlaw and the Grand Knight you can destroyed them in your coming turn. Remember to get your Holy Bottle South of the map.
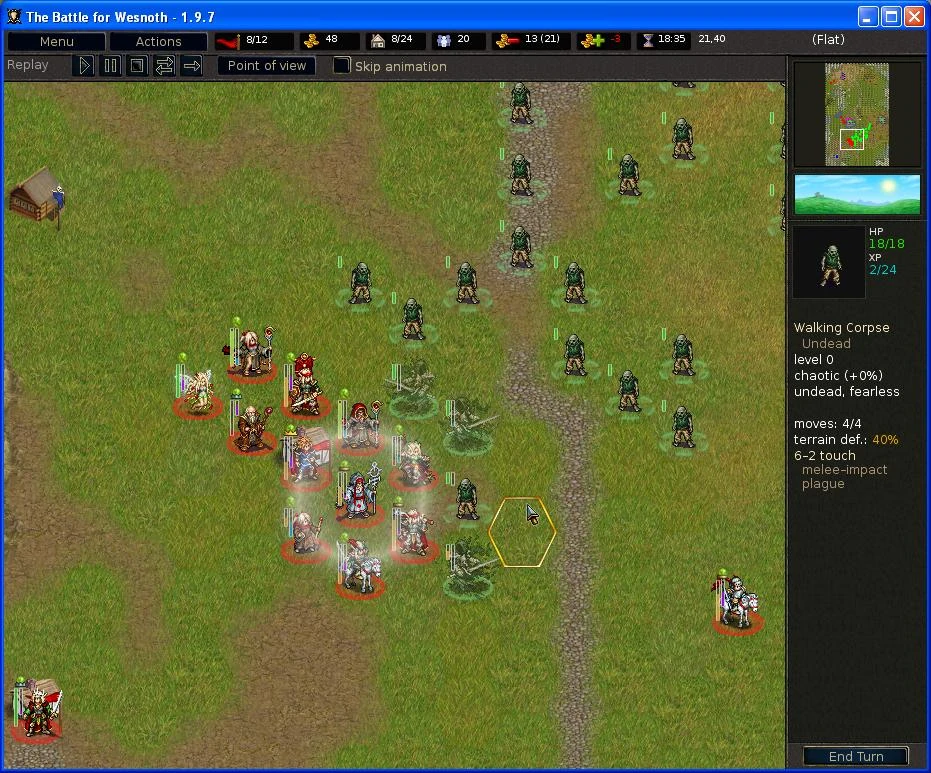
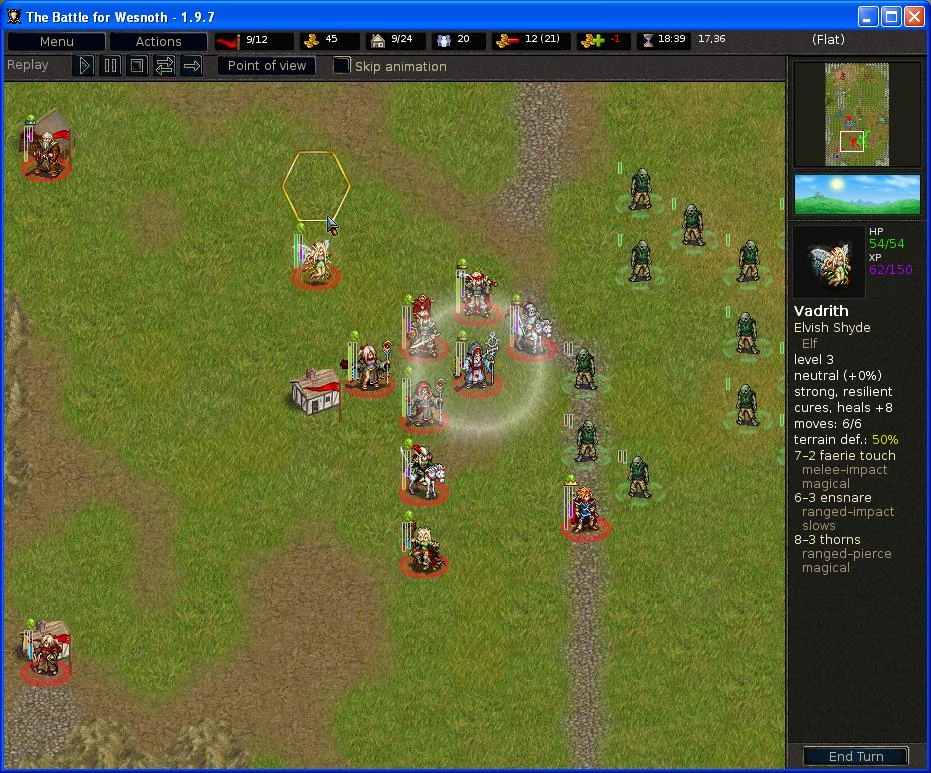
At your 5th move, you should having some serious damage made by the Blue units on several of your units at your South defence line (But if you plan your units right, most of the damage unit are at reach of your healer, hence it will heal at least 8 HP at beginning of your turn). And now is night fall, which some of your units (Lawful) is at attack penalty but enemies gain attack benefit. On top of that, you will see the Green units are closing in, hence your units are seems to be surrounded at each angle. As such, it is the time for you to realigned and reformation your South defence line. Used your units who has Arcane attribute to destroyed all the Wraiths & Chocobone (if any), once this are done, used your unit which are good in melee to destroyed all Dark Adept and any remaining range units destroyed the Skeleton or possible the Revenant as well, all mention to be destroyed are those from Blue units, you will notice that due to Wraith & Chocobone move faster there will be gap between those Blue units, hence this give your units space to built a defence line that able to be control with Zone of Control. Due to the fact that your units are not big enough to destroyed all the Blue units during this turn, as such, do not intend to over killed until you lost your defence line, hence instead of rush destroyed all Blue units, let them be 2 to 4 surviors, if all according the plan the remaining Blue units should be all melee type i.e Skeleton and/or Revenant. Move your available units to cover up your heavily damage units and/or move into position to make a shorter defence line. You be amazed, due to the Blue units movement range it force you to make 2 defence lines, one majority with Mage or magic user who is facing the Green units which are having good damage and defence against the Walking Corpse and your remaining units majority with the non magic users (usually supported by one of your healer and/or stand in a village) will be facing the remaining of the Blue units who can take care of themselves against the melee attack.
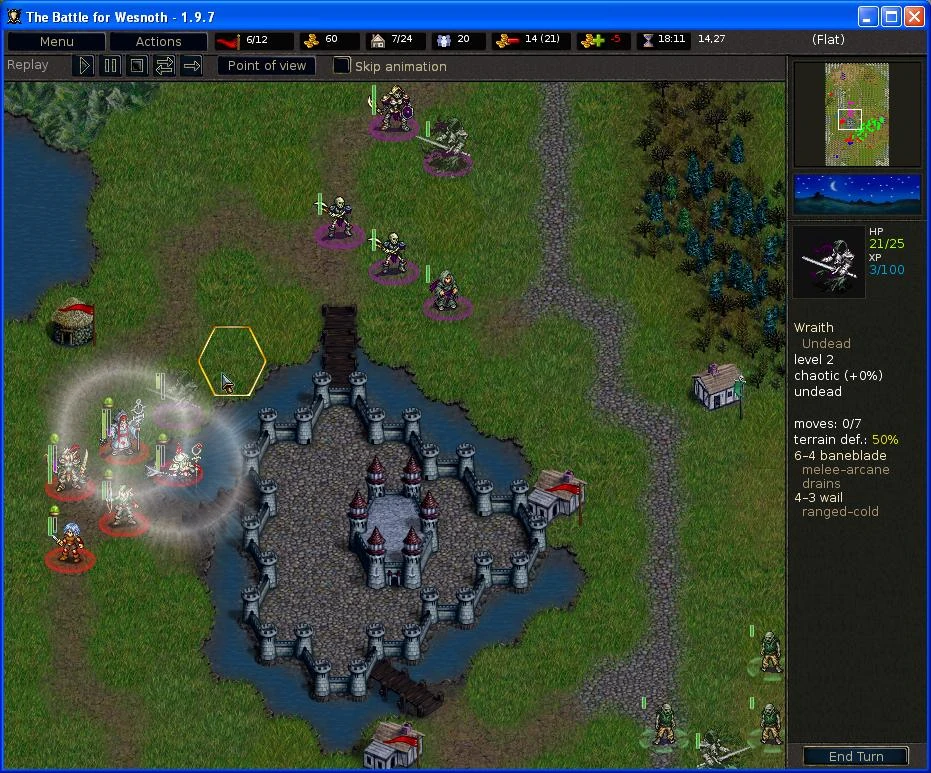
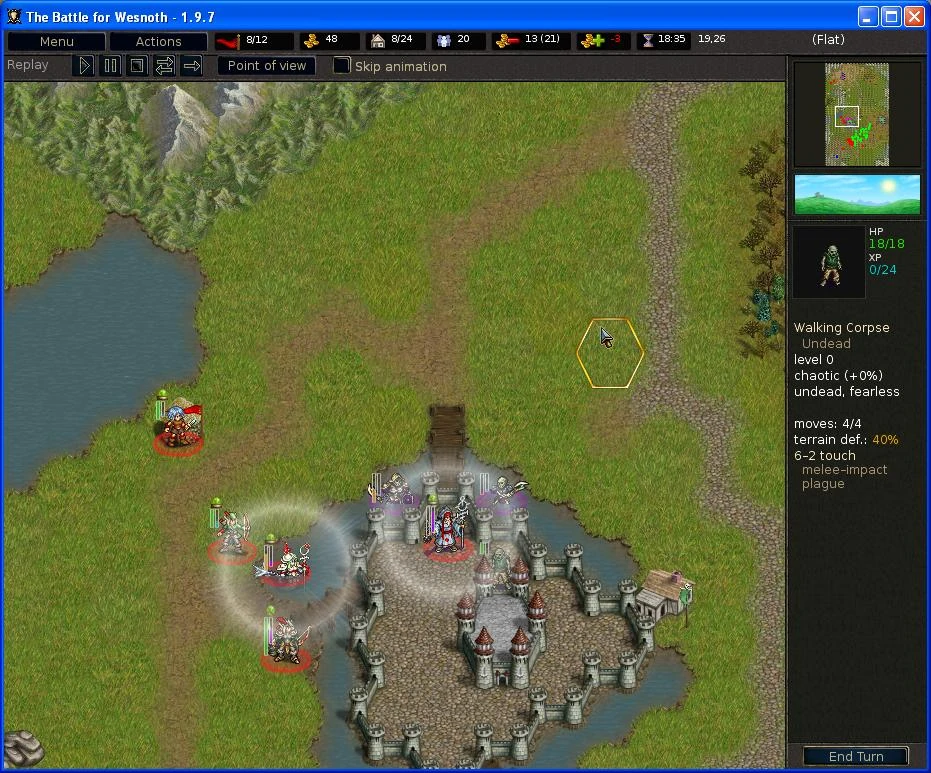
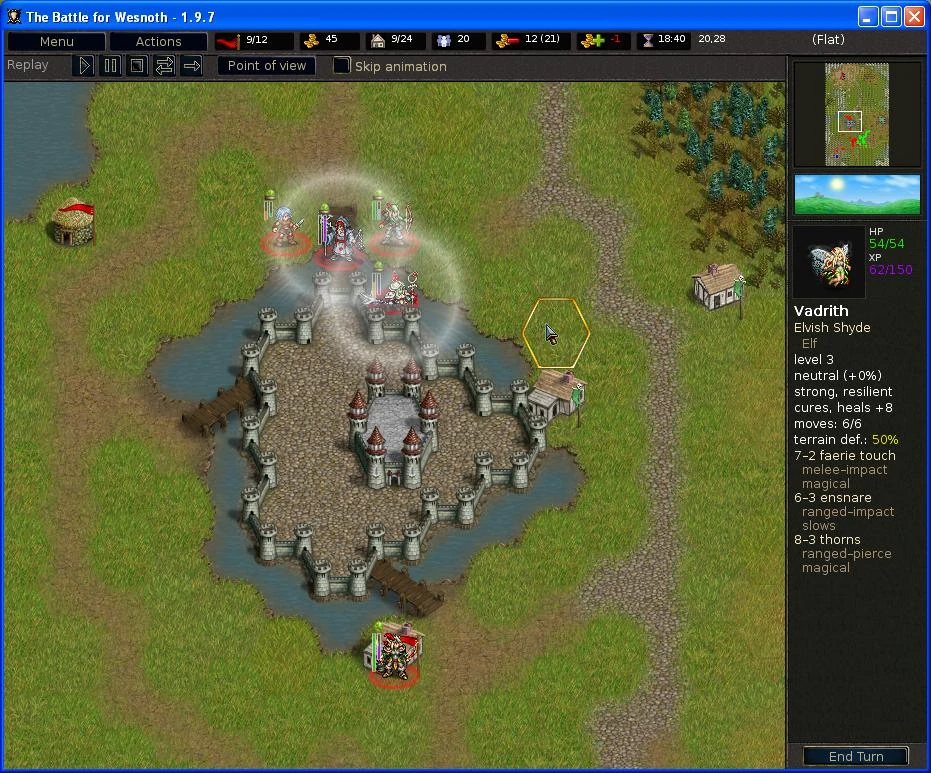
On your 6th move begins, your Mage defence line at South should have been crashed with the Green units (but it should be at a minimal damage to your units, as Walking Corpse damage is low, unless damage by the Wraith)). The remaining Blue units also has do some damage to your units as well, due to Revenant, one or some of your units should be in fatal damage. But not to be afraid, as the Blue units is at it doom, move your units away from the Green units, most of them are magic user, hence use them to heavily damage or destroyed the remaining few units of Blue units and/or cut in with some melee or range units to get some experiences to enchance their level. Make the defence lines in a way of healing spheres by calculating how many of the Walking Corpse can reach your units, fews are ok (about 3 to 5) but not too much as those Wraiths are still in the map which can be deadly. Remember to move your Paladin back to the main force as assistance, he can make damage as high as 26-2 (35-2 if in no penalty or benefit gain) with his charge ability even during the night time against the Wraith. But if it has been block by the Green enemies or being too heavily damage, send it into the village for healing before returning him back to the main force. And for your defence line at West of your keep, few Purple units should have crash with your units, at my amazed, most of them aim to attack my Mermaid Diviner even at the cost of going into the water hexa and standing on her illuminated area. Hence, giving minimum damage on her but gaining maximum damage to themselve, even death if the enemies are using range attack and allowing the Mermaid Diviner to counter with her Lightbeam which having 10-4 in default. Same goes to the Purple units that try to attack Moremirmu. Hence during your move, use the Mermaid Diviner to destroyed the Purple units which are in less damage, as she can killed it much more effectively, and the remaining heavily damage Purple units used the few support units that you have with you to destroyed all of them. The remaining Purple units that did not crash with your defence line will most likely near your keep entrance, send Moremirmu into your keep and guard the entrance of North of the keep (by doing these the Purple units, somehow be lure to attack Moremirmu in their turn, at the cost of jumping into the water hexa or on the bridge which giving them 20% or 40% defence effectiveness likewise Moremirmu benefiting at 60% on defence effectiveness together with his benefit from his own illuminate skill). For the Grand Knight keep him stand still (for healing purposes and waiting for the sun to rise) and for the Outlaw because he has just been level up by killing one of the Wraith that lure by the Grand Knight few turn ago, it has level up to become a Fugitive which gain a ability called Concealment, as such I can send him into capturing the village without to knowledge of the Purple Leader (with that the Purple Leader will not being lure to attack my unit and will gain extra gold as well).
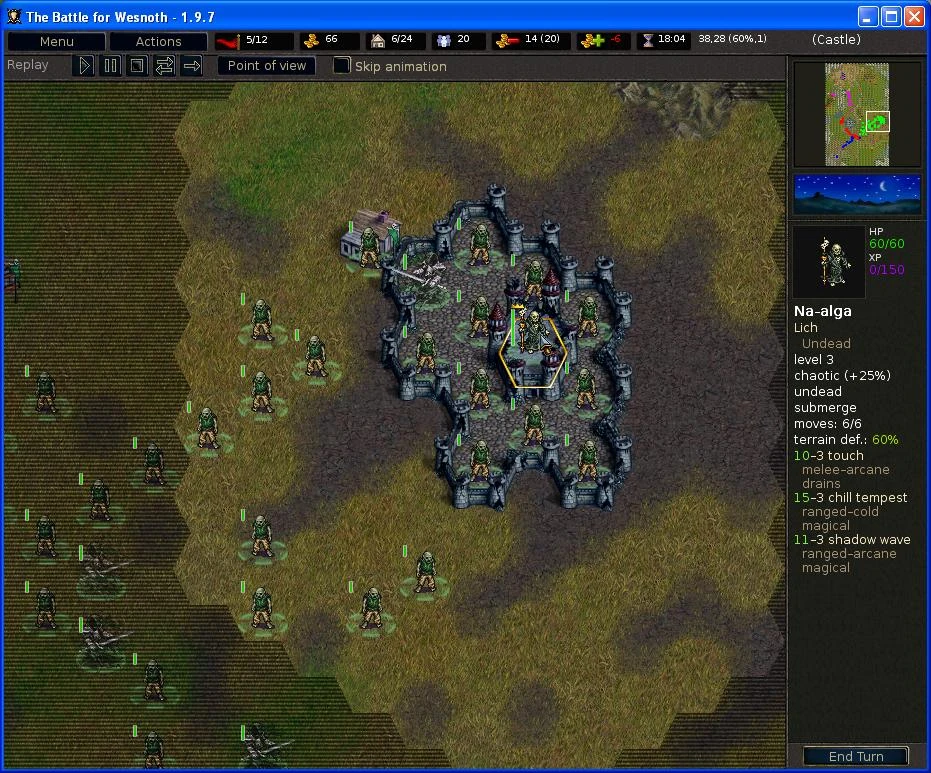
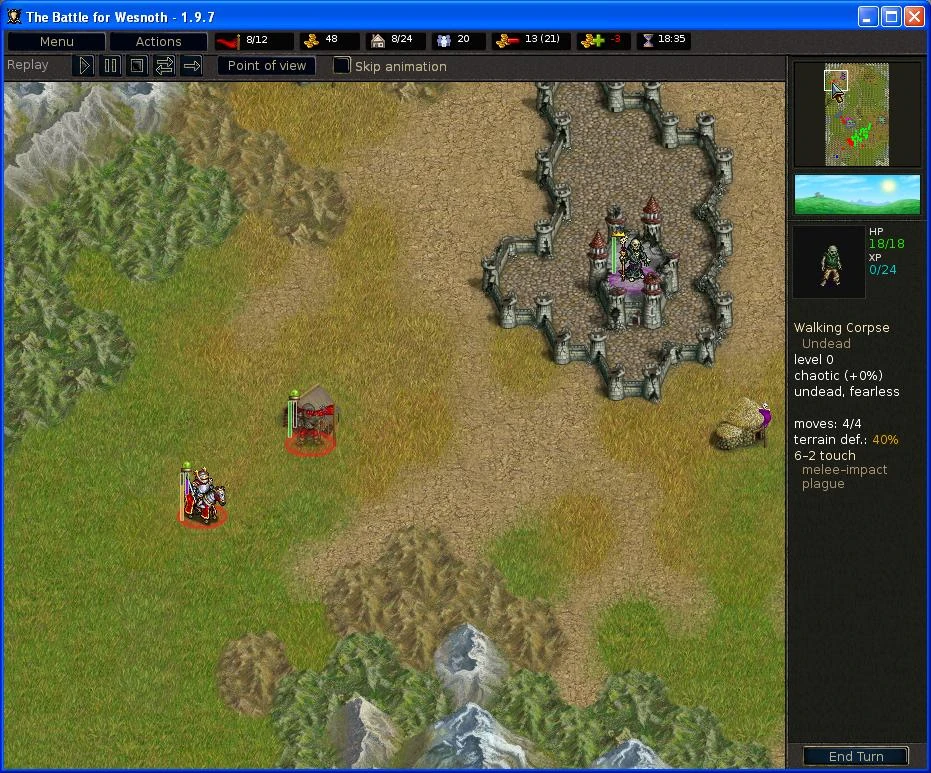
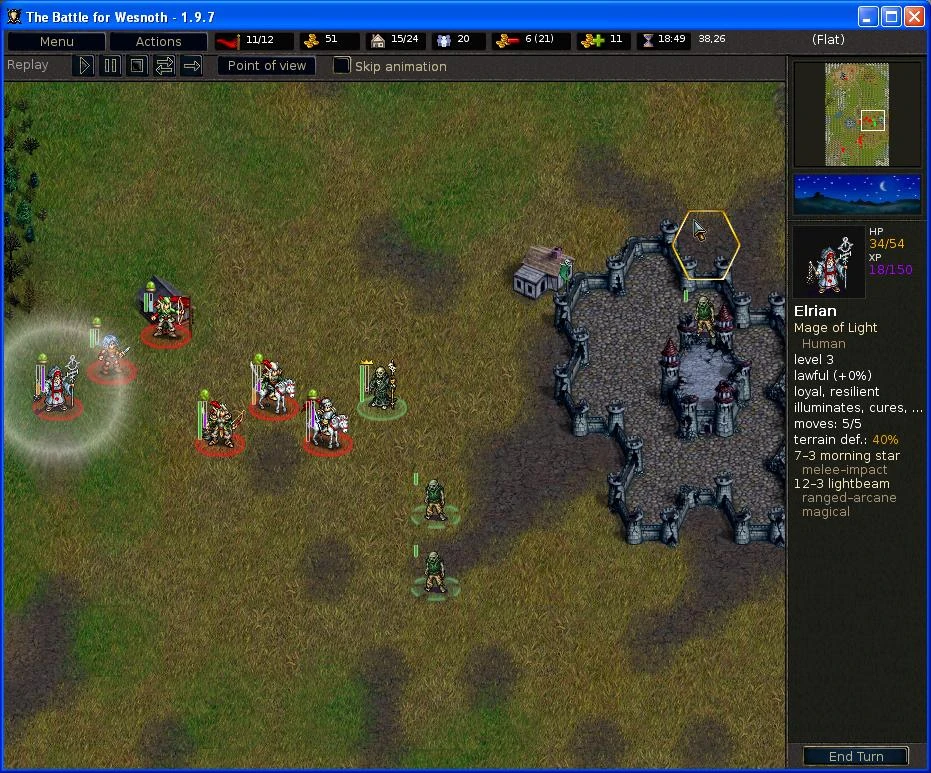
In your 7th move, the sun has rise, and the Green units has stressess out his units to it max. Blue units all being destroyed. It should be the time for you to deal with those Green units. For the South defence line, send two of your magic user to the Blue Leader to destroyed him, preferrable one of the unit should be Kalenz or Delfador, in my case I choose Kalenz as he is in full health. Use your other magic user to destroyed all the Wraiths. And make a defence line looking at your position after killing those Wraiths, if there are other Walking Corpse nearby blocking your preffered hexa, kill them and get those hexa and make a defence line or sphere of healing as your desire. But do not over stress your units until the Walking Corpse can hit your units in numerous units. For the West of your keep defence line, you be amazed, that Moremirmu can do, he maybe in heavily damage but most or even all the Purple units being destroyed by him during his counterattack. Even if still there are any remaining Purple units, they should be in heavily damage, as such use your support units to finish them off (make your own decision on which unit to be used, not much different as the Purple units are already at their doom). Send in your Fugitive to damage the Purple Leader (just to gain extra experience) and finish him off with your Grand Knight lance attack, charge him to death with 59-2. (After killing the Purple leader the Grand Knight & Fugitive are just to be used to captured any villages that they can reach, as there are not enough time from them to return to do any assistance)
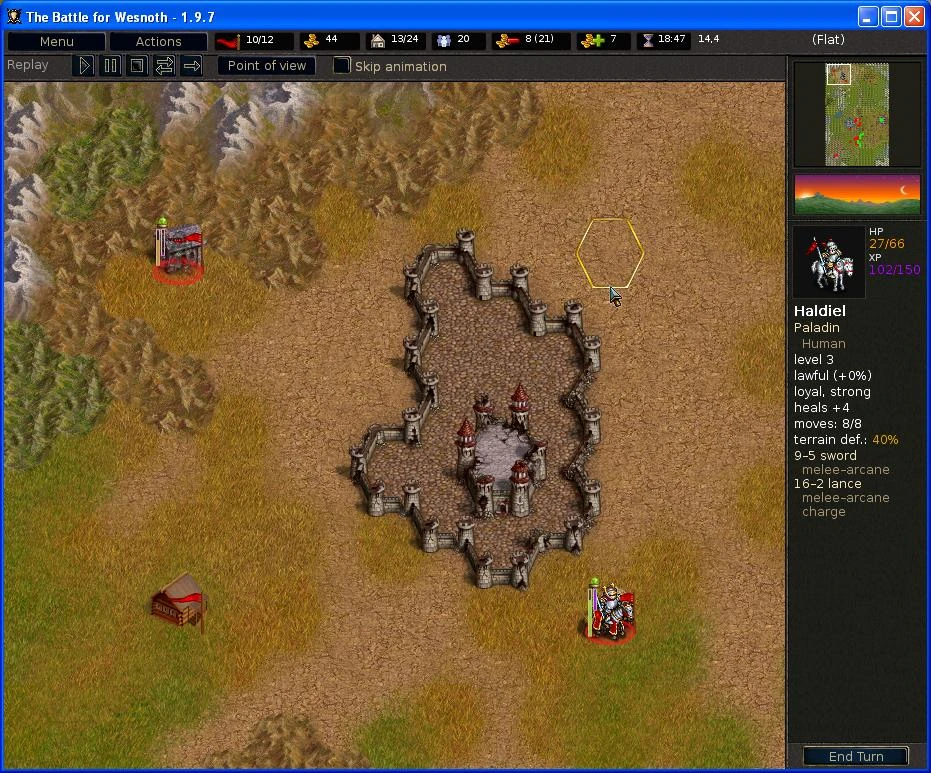
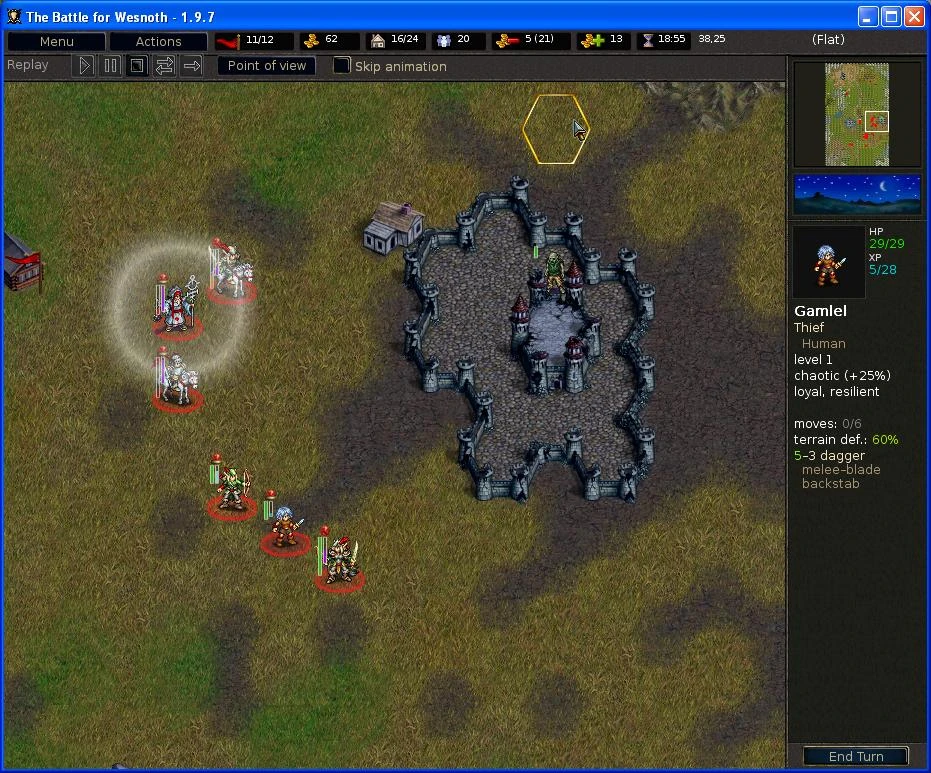
With your 8th move, destroyed the Blue Leader while the sun is still giving your unit 25% benefit and the enemies having 25% penalty. Send all those units from the West of your keep defence line to killed the Green Leader, together with all mounted units except the Grand Knight far up to the North. The remaining units from your South defence line will crush the Walking Corpse.
By your 9th move, most of the Green units i.e. Walking Corpse should be destroyed (leaving about 7 to 10 of them). Round them up anyway you prefer, moving Kalenz and it support is pointless now, as their too far to do any good to you (not even can reach any villages that is not yours). Units at North continue their villages grab. Move in all the available units to killed the Green Leader, especially your Paladin into the range of the Green Leader, this is to lure him out to attack your Paladin, do not worry, he can only do damage to your Paladin maximum at 11-3 during no penalty/benefit time and his escort i.e. Walking Corpse which is newly recruits will not has the range to reach your Paladin.
At your 10th move, killed those newly recruits Walking Corpse as much as you can, move Moremirmu to stand beside the Green Leader, hence giving him no benefit from the night. Damage him as the way you like to be, and ended him with your Paladin lance attack which having 45-2 in damage. In the end of the game I still having a total gold of 62 and gaining a day early finished bonus (Most of the walkthrough I read, their gold will be most likely negative).
Hope the above help your way for the Hard Difficulty. Back to Heir to the Throne--Balcon28 03:13, February 26, 2012 (UTC)